Introduction
The farm’s main shop vise is a Wilton Model 1765. It’s a 6.5″ jaw vise, and a descendant of the very popular and sought-after Bullet models. A vise jaw cracked, but no replacements were available. I machined and heat-treated a new set to prolong the life of the vise.
Alloy Choice, Design
The alloy chosen was O1 tool steel. This steel is often used for tooling, small molds, punches, knives, etc. Though A2 tool steel is easier to harden, I was inexperienced and was afraid of over-hardening the steel, leading to yet another broken jaw. I purchased a length from McMaster-Carr and began drawing up a sketch of the jaws with dimensions.
Machining Process
The blocks were machined to size:
Mill to size:
Drill & Counterbore:
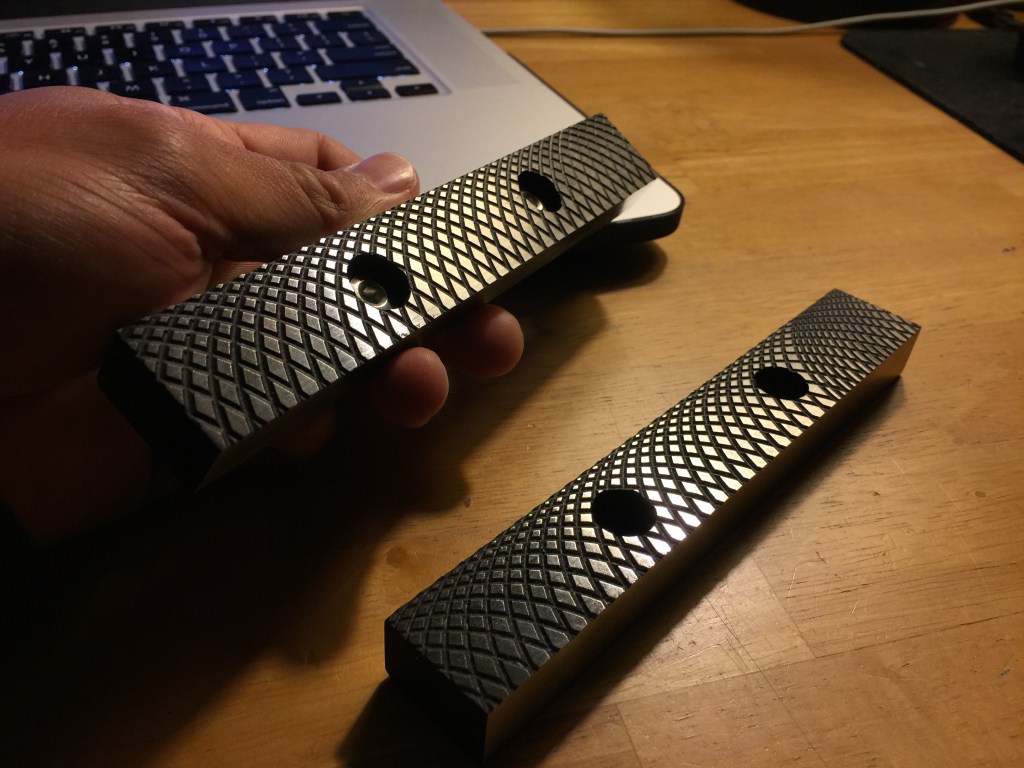
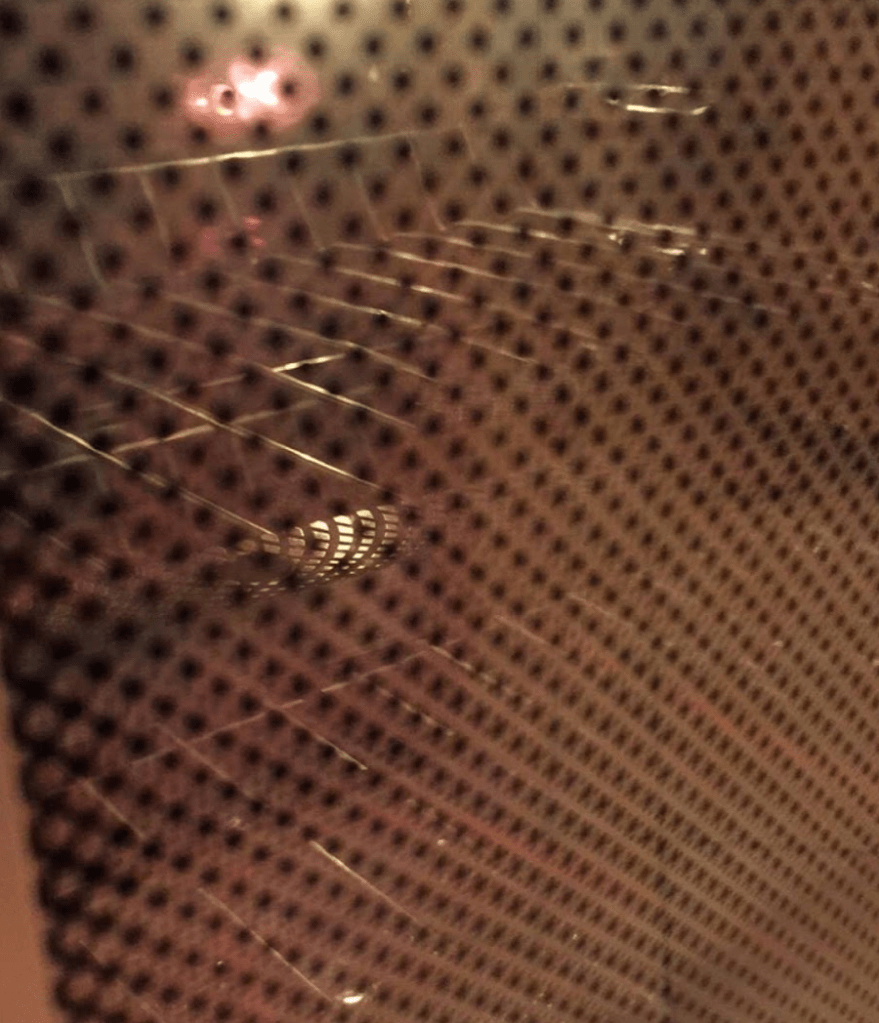
Guilloché Pattern
The pattern chosen was solely for ease of manufacture. Guilloché describes repetitive patterning for a decorative purpose: in this case, it’s the repeated grooving of a circular shape at a calculated linear increment. This pattern was easier and faster to machine into the jaws than a traditional grid-pattern of v-grooves.
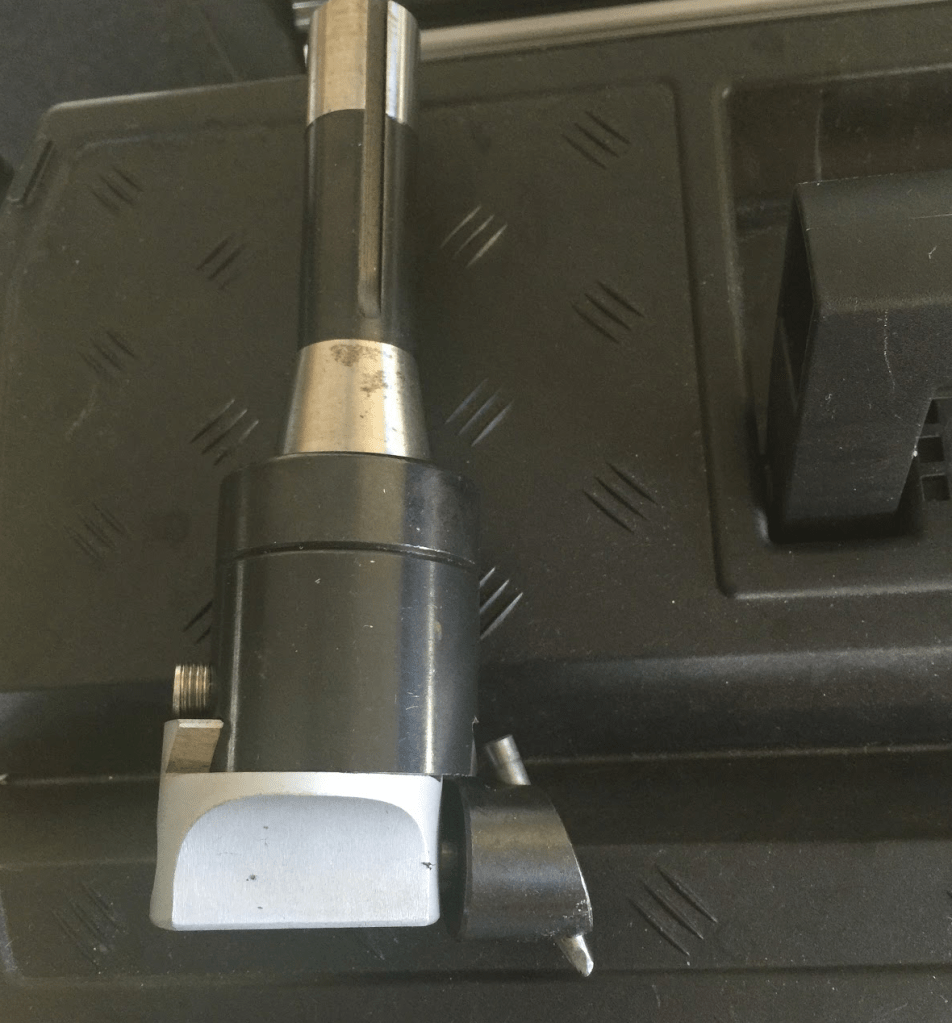
Tool used to cut the pattern:
I hand-ground a broken 1/4″ diameter carbide router bit to cut this pattern. The tip of the bit was ground with an angled 45-degree triangular shape, so that it would cut a groove oriented correctly when inserted into a boring head:
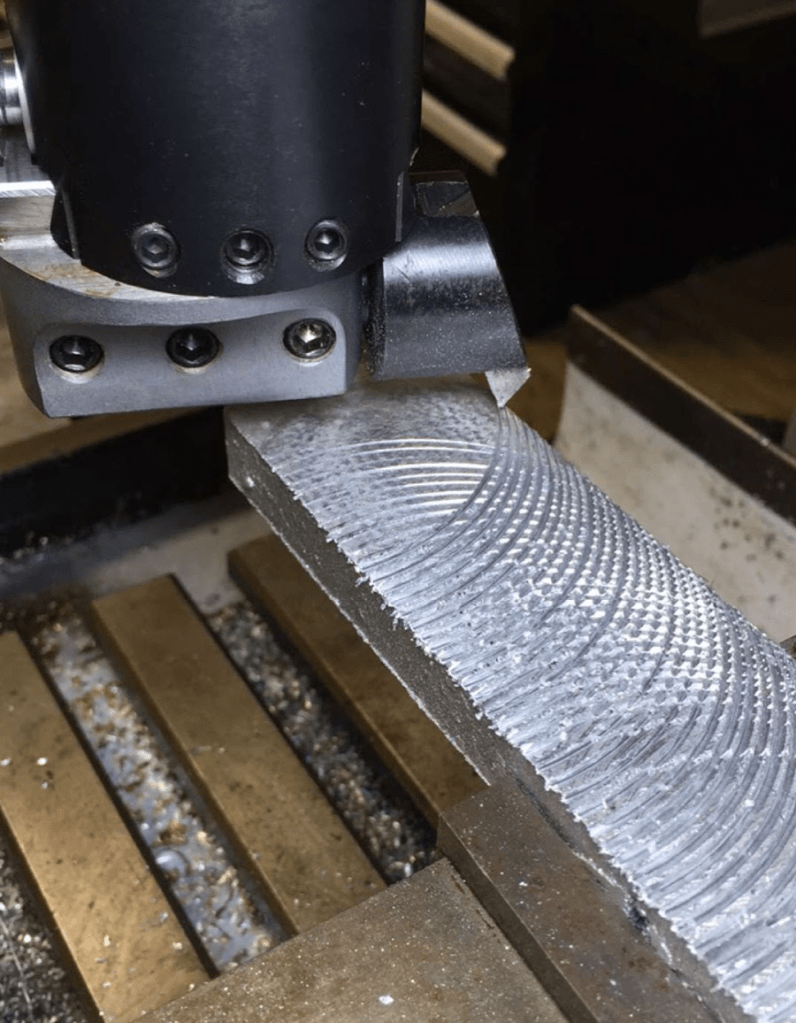
Testing the pattern in aluminum:
Cutting the pattern
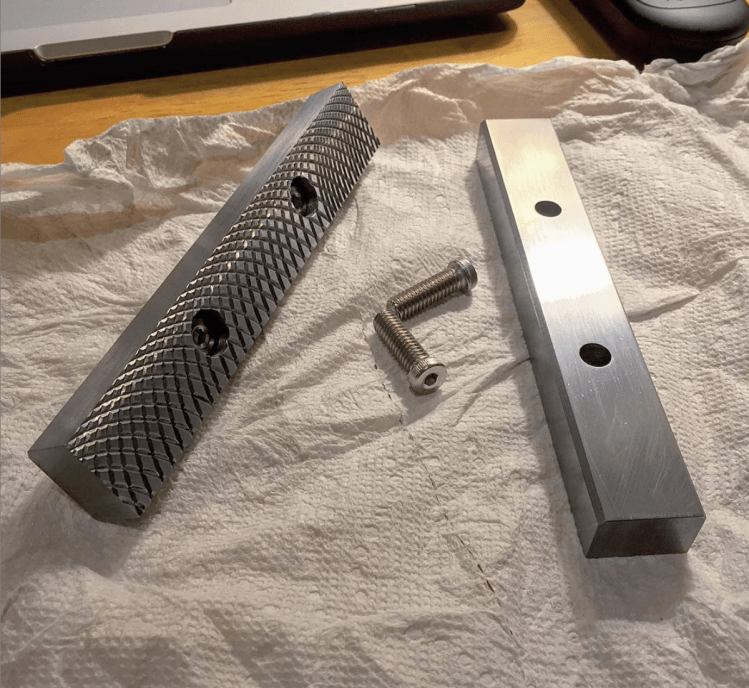
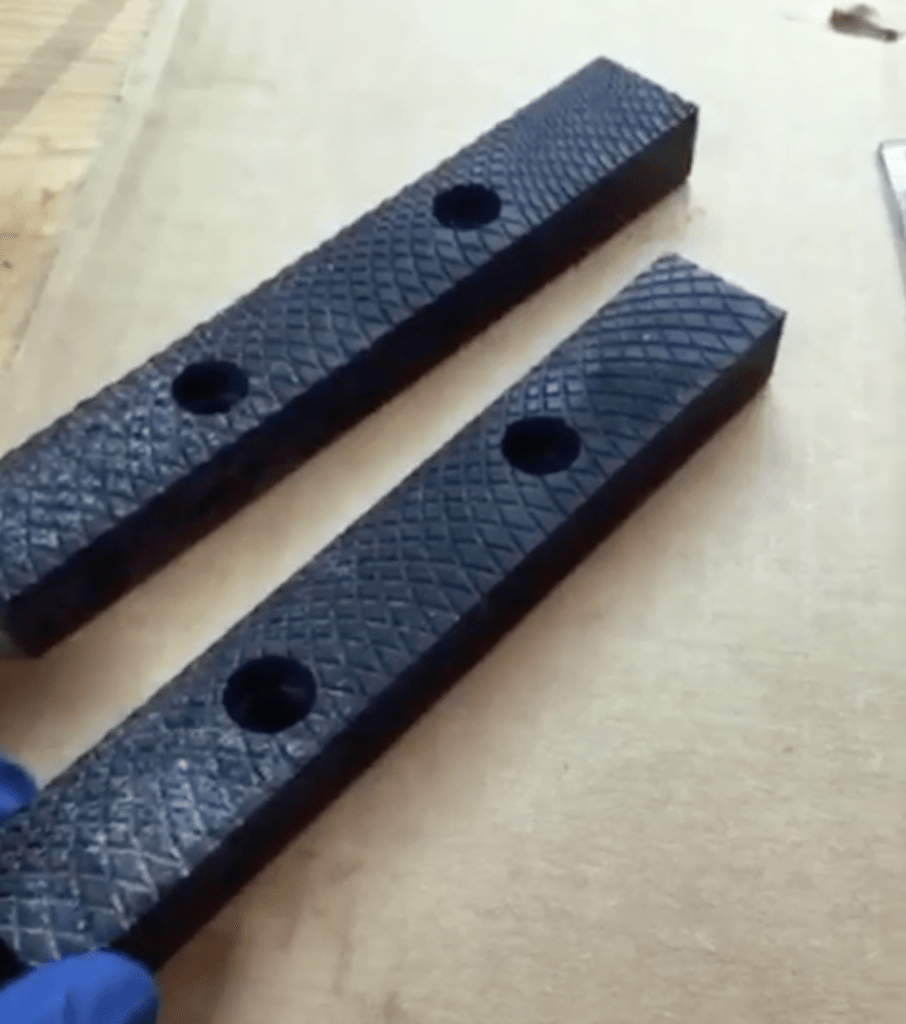
Deburr & Chamfer
I then deburred the jaws. This was done on a standard belt sander. It removed the burrs from the guilloché. I also chamfered the edges to provide a clean bearing surface for the jaws, once they’re installed. Lastly, it allowed me to flatten all surfaces, so when the vise is used, equal pressure is applied throughout the length of the jaws.
Heat-Treatment (Quench & Temper)
O1 tool steel must be heat-treated to reap all of the benefits the alloy offers. It is heated to a temperature where certain grain states are in flux, then rapidly cooled. This process is called quenching, and in the case of O1 tool steel, requires an oil bath. Then, the metal is “tempered,” which reverses some of this hardening in exchange for ductility. Tempering is done in an oven at a much lower temperature.
Hardening Process & Forge Heating
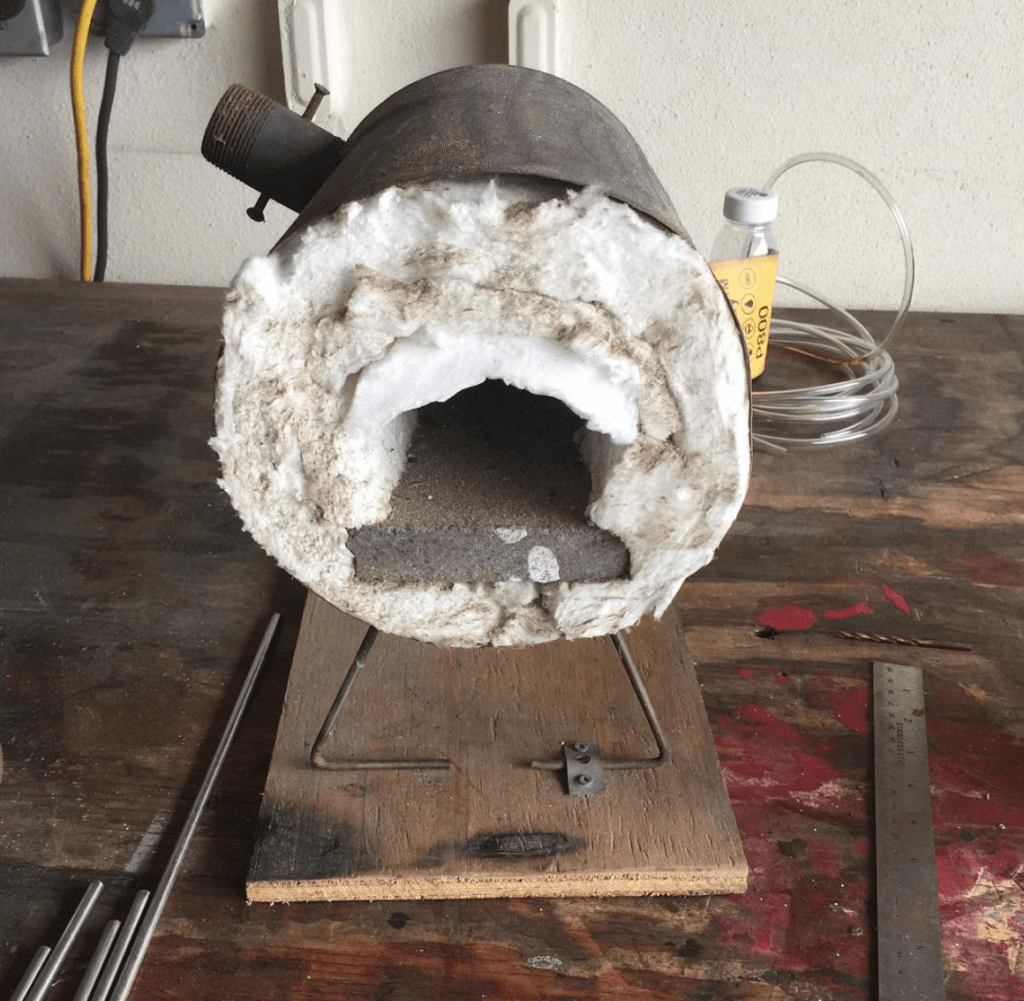
I built a propane forge in middle school that was well-suited to this task. The forge body is a steel shell from a manual-pump pesticide sprayer. It is lined with Kaowool, a brand of ceramic wool. The forge floor is typical firebrick. The propane burner is a custom design – it uses black iron pipe with reducing bell with cross-drilled holes. The holes hold a horizontal bar with a singular nozzle with a small orifice. The orifice projects propane gas down the tube, and entrains a flow of air in the process, providing a mixing effect.
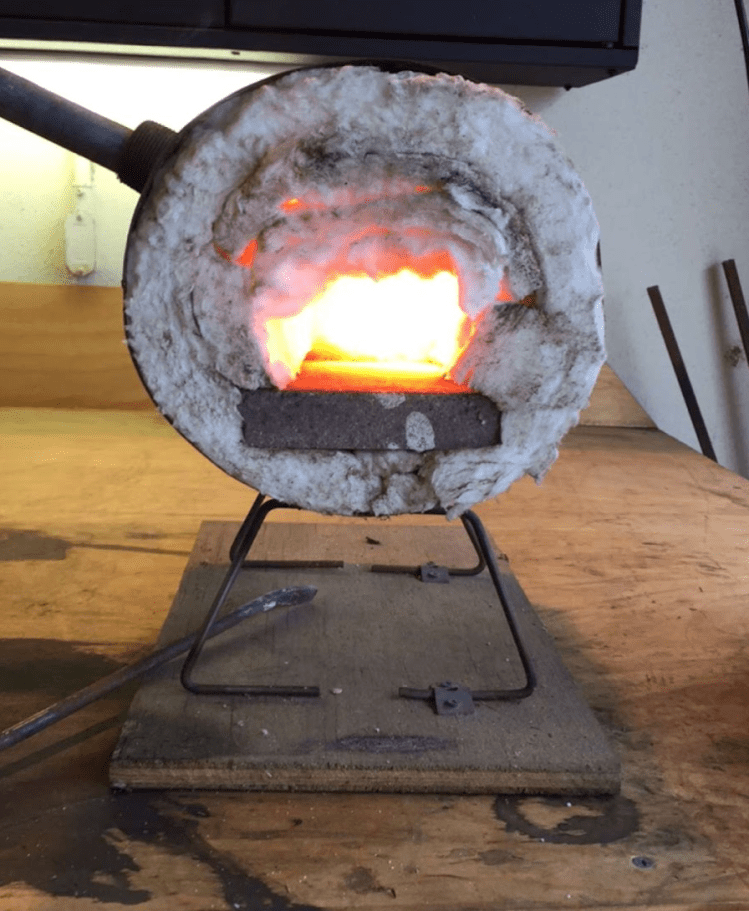
Forge Preheat:
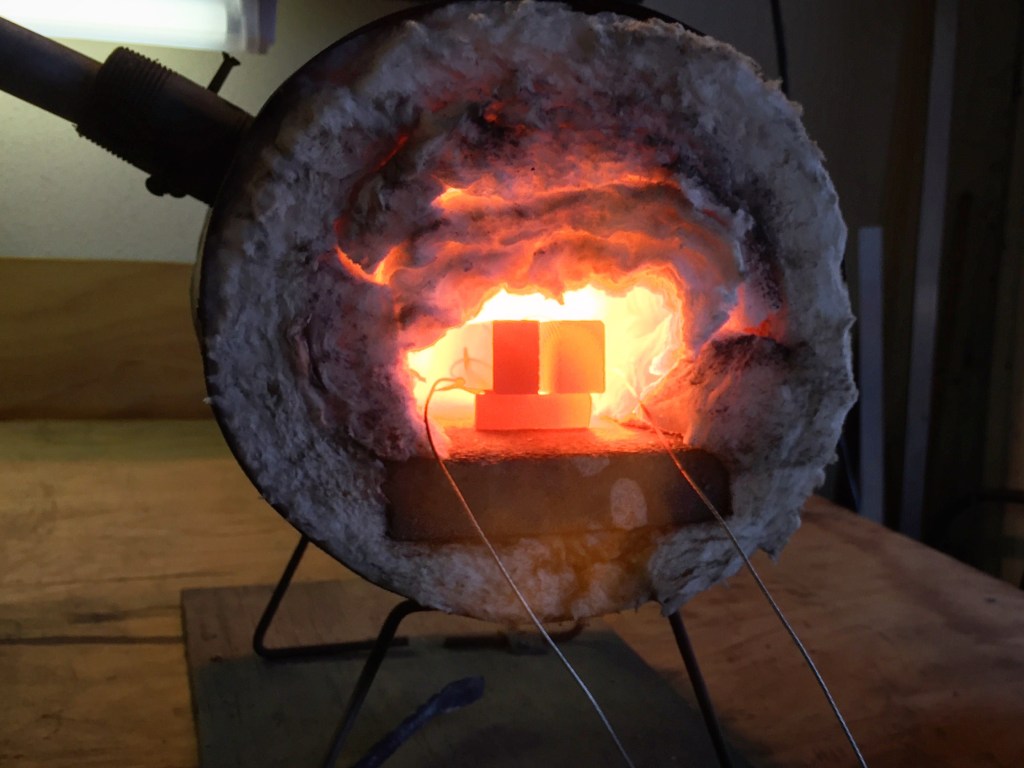
Heating the jaws:
The jaws are wired with stainless wire. This gives me something to “grip” without sinking heat from the jaws and affecting the quench consistency. Stainless doesn’t oxidize as readily as other metals in the high heat of the forge. You may also notice a round bar propping up the jaws – this is also to ensure even heating of the jaws.
Fully-heated jaws:
Quench & Tempering
Quenching must be done quickly to ensure even formation of the desired grain structure. This is one reason why I chose to attach the wires in a way that hangs the jaws vertically; it reduces the probability that quenching will induce off-axis warping in the part. Swords and longer knives are quenches in a similar manner.
The oil used is very typical SAE 10w-30 motor oil (non-synthetic).
Quench:
Post-Quench Analysis
The parts appeared file-hard, which indicated a successful hardening had taken place. This test involves sliding a standard mill bastard file across the part – if the file cuts, the part is likely not hardened fully. If the file “skims” across the surface, the part is likely hardened to near or above the hardness of the file.
Using oil as a quench liquid generates a large amount of carburization and heat-scale (a layer of oxides):
Post-quench:
This scale was removed with a belt sander, as abrasive processes are best for hardened steels.
Files, hand-deburring tools, and other “cutting” methods typically do not provide satisfactory results on hardened tool steels.
The carbon was left in the V-grooves for two reasons: both because it would be difficult to remove, and because it provided an aesthetic contrast with the guilloché pattern.
Tempering & Final Cleanup
After cleaning up the jaws, they were placed in an oven at 500 degrees Fahrenheit for approximately 180 minutes. This reduces the jaws’ hardness, but increases ductility. The tempering process is akin to partial annealing of steels.
Oven tempering:
Post-cleanup:

Video of final, finished jaws, ready for installation:

