Objective & Introduction
Since 2005/2006, when Instructables.com held project contests with Epilog laser cutters as first-prize, I’d wanted to experiment with high-powered lasers. However, the cost of even the weakest (>10mW) lasers of the visible spectrum prevented me from experimenting.
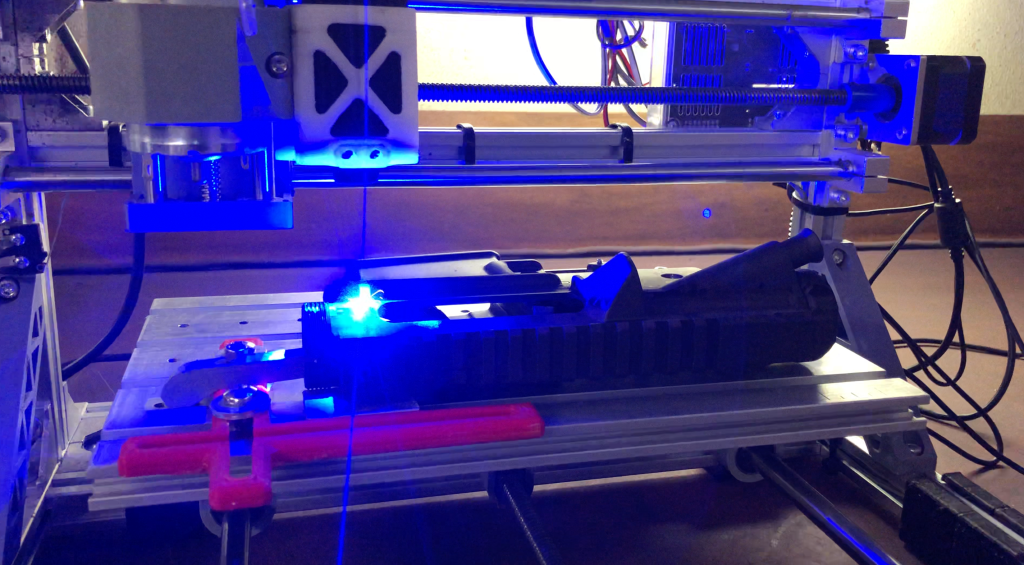
As of 2020, both CO2 and diode laser module have gotten dramatically more afforable. I had already purchased a 3018-style CNC router (a desktop CNC machine), and adding a laser module was a trivial task. I purchased a Sainsmart 445nm 5.5w diode laser module, and attached it to my machine:
Machine Prep & Setup
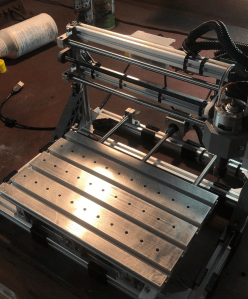
The 3018 CNC and its derivative models were some of the most affordable CNC machines available in 2020. They’re essentially no more than a T-slot extrusion frame, NEMA 17 or smaller stepper motors, drivers, and metric multiple-lead leadscrews. While they usually operate a router spindle with ER-11 collets, most have PWM outputs on the driver board for laser control.
Adding #10-32 threaded holes for clamps:
Ablation of Steel & Selective Modification of Material Properties
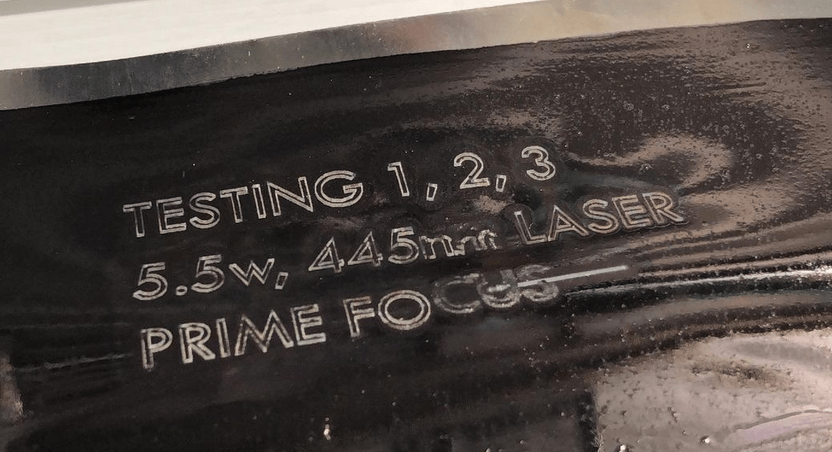
The 5.5w laser module I purchased isn’t intended for cutting or etching metals. However, I realized that there was, in theory, enough energy concentrated at prime focus to “burn” metals in standard atmospheric conditions.
Hobbyist, or semi-commercial-grade lasers typically are not capable of cutting steel or other metals. Fiber lasers can, due to the intense concentration of energy, but they are often prohibitively expensive. CO2 lasers can etch metals, but the wavelength isn’t sufficiently absorbed by most metals, and needs a spray that increases heat absorption.
Ablation of Steel with Reactive Coatings
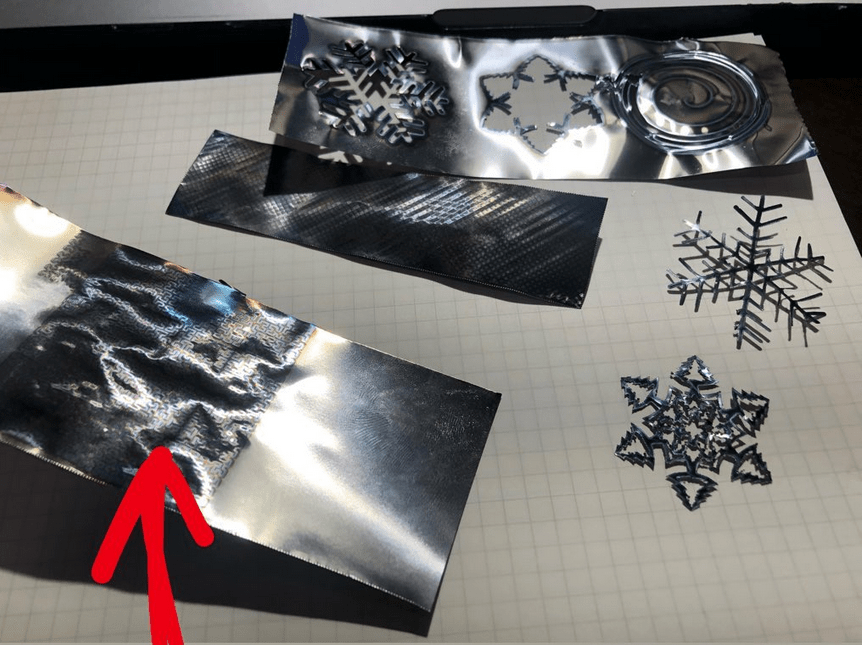
Instead of purchasing Cermark spray, I experimented with molybdenum disulfide powder “paint”, with various additives, from activated carbon (carbon black would have been superior), to magnesium and aluminum micronized powders). These worked well, but need further research.
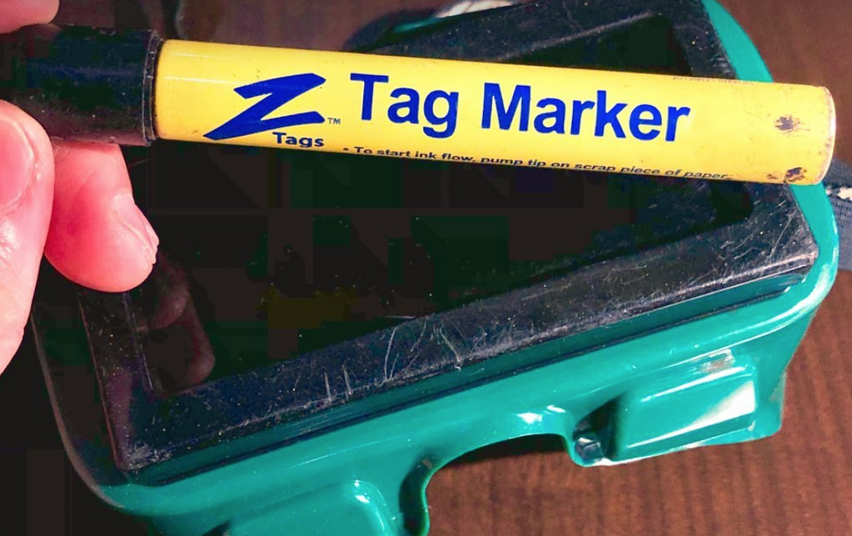
Ablation with Paint pens:
I also tried using Tag Marker pens to create a coating that absorbs light energy better than (reflective) steel shim stock. These pens deposit a permanent black ink onto cattle ear tags.
Ablation of Cerakote
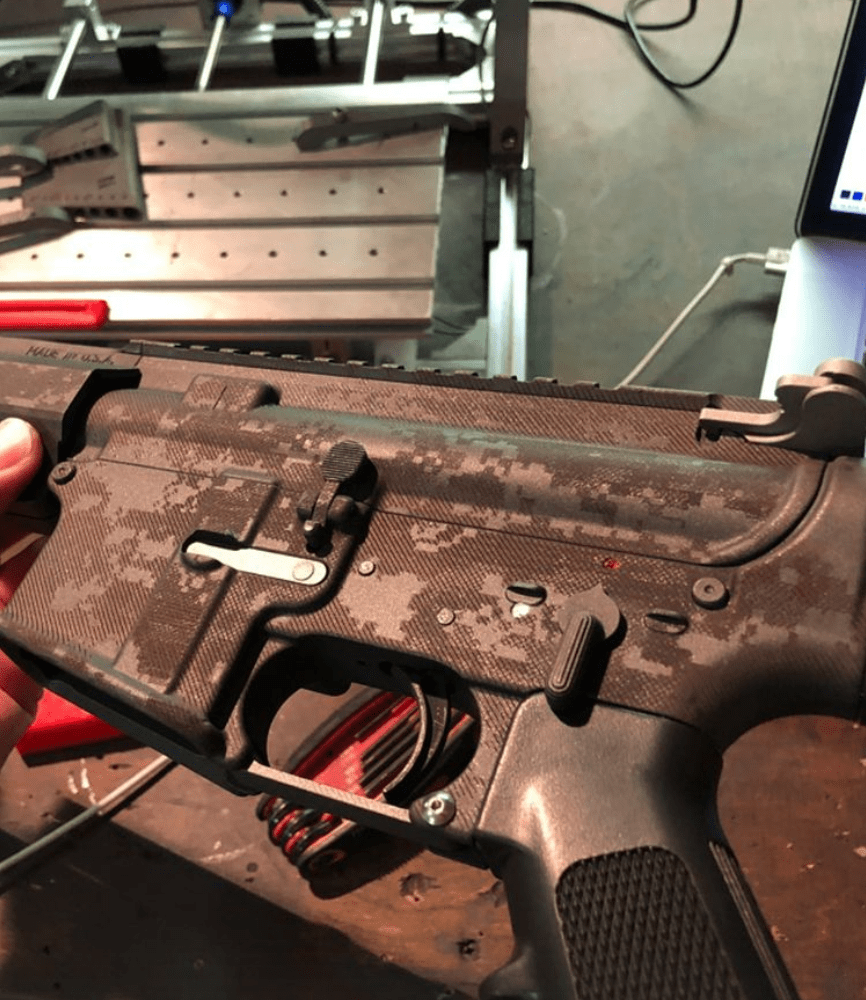
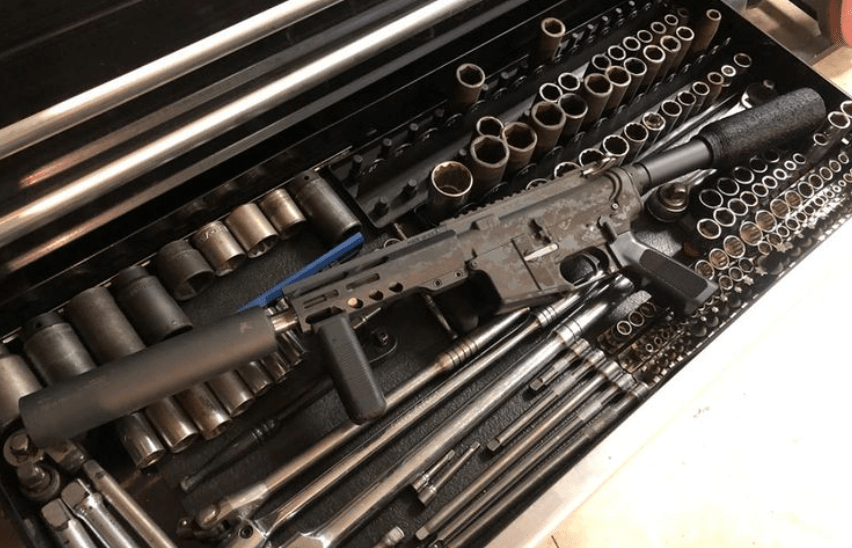
Cerakote is a commonly-applied coating to firearms. It’s self-lubricating, stable at high temperatures, very durable, and possesses high wear-resistance qualities. I made several attempts at ablating this coating:
AR-15 Receiver Patterning
Shift-Knob

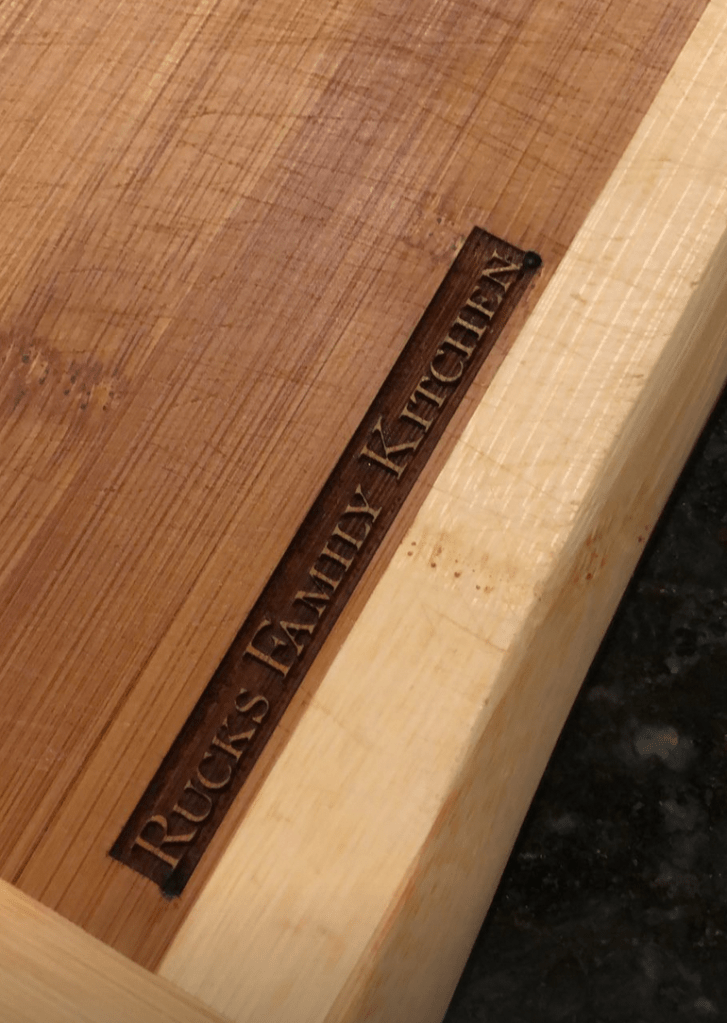
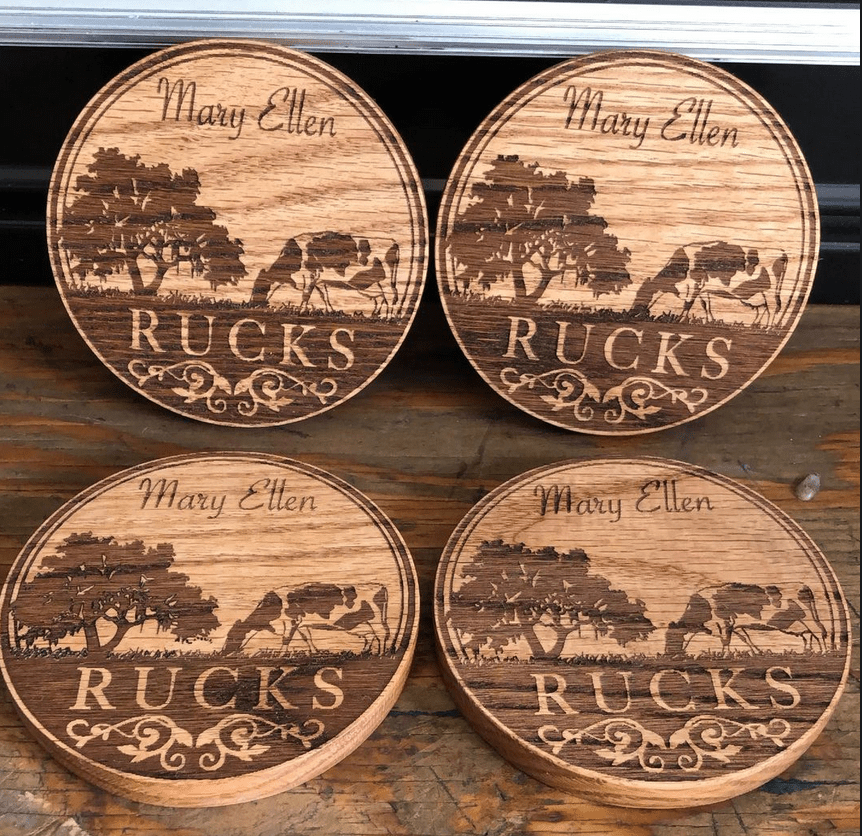
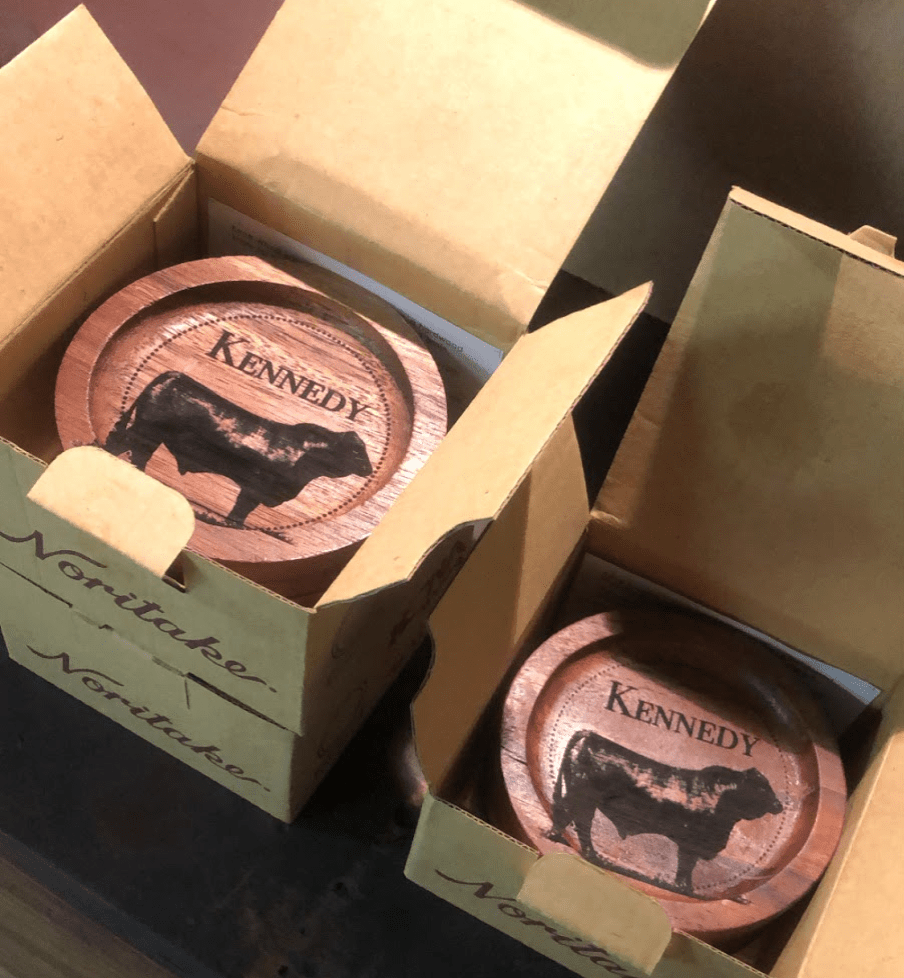
Ablation & Texturing of Wood
I tried both simple, 2-dimensional ablation, and 3-dimensional ablation in wood. I had surprisingly good results with both methods. 2-dimensional ablation was achieved with simple on/off control of the laser; either it was burning at a set power, or not at all:
Ablation and Texturing of ABS Plastic
While this was not pursued in depth because of poor ventilation and concerns about safety, I had good results texturing plastics with creatively-generated patterns.
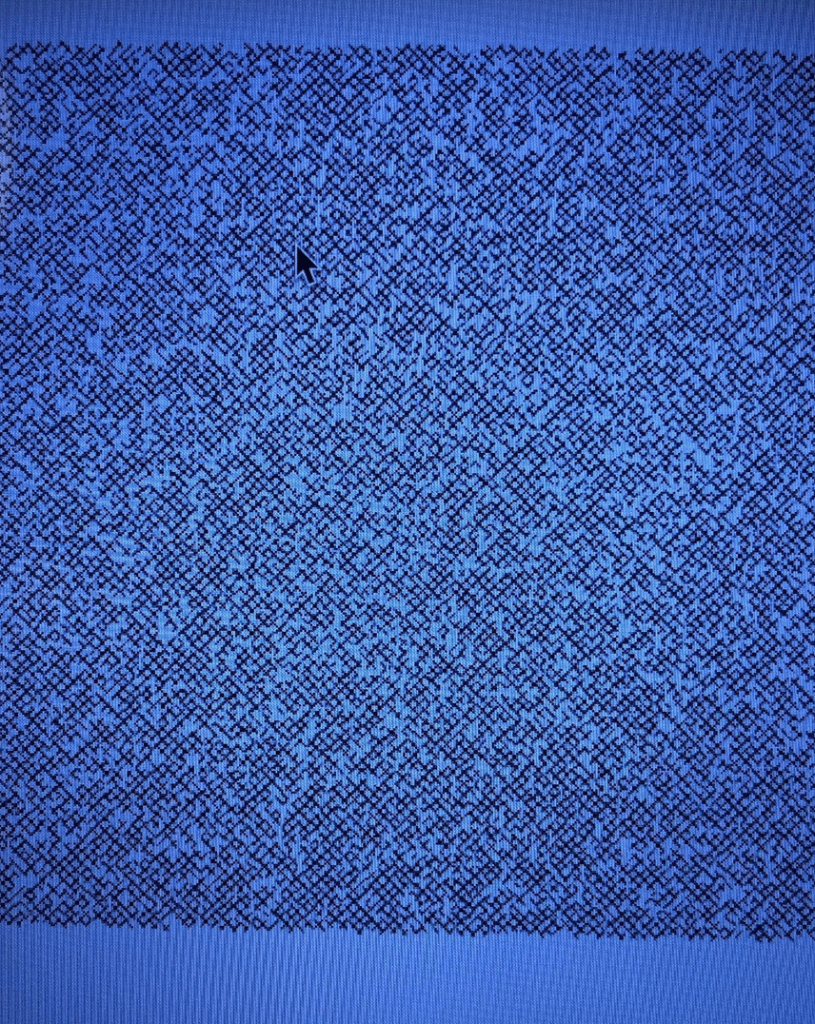
Pattern generation began with a raster image of white noise, which was then vectorized, and then dithered:
Vectorized white noise:

Dithered white noise:
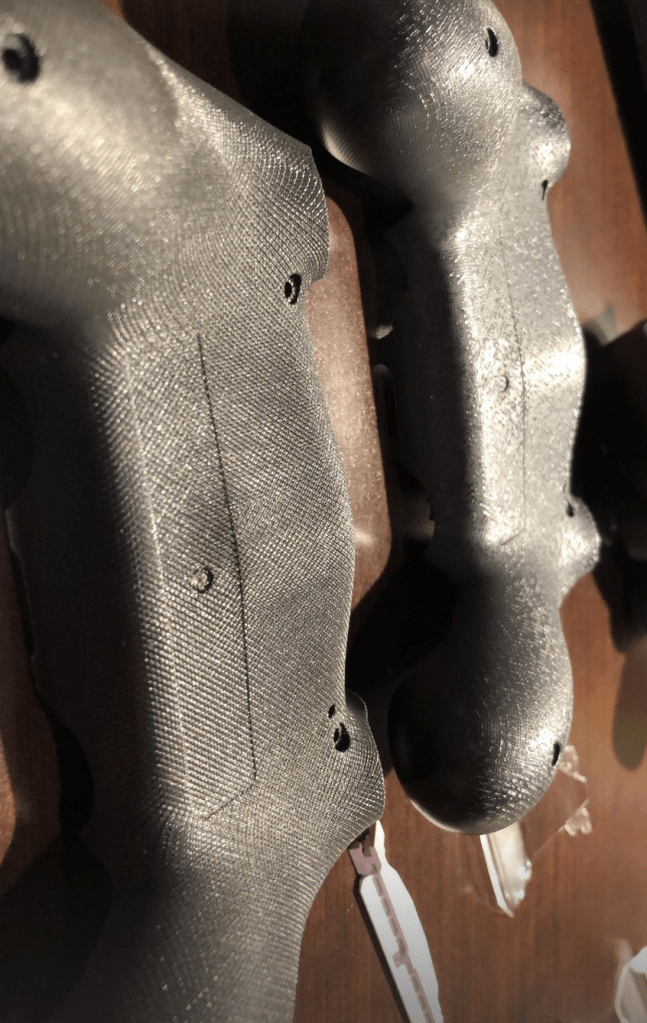
Etching the dithered white noise & other patterns:
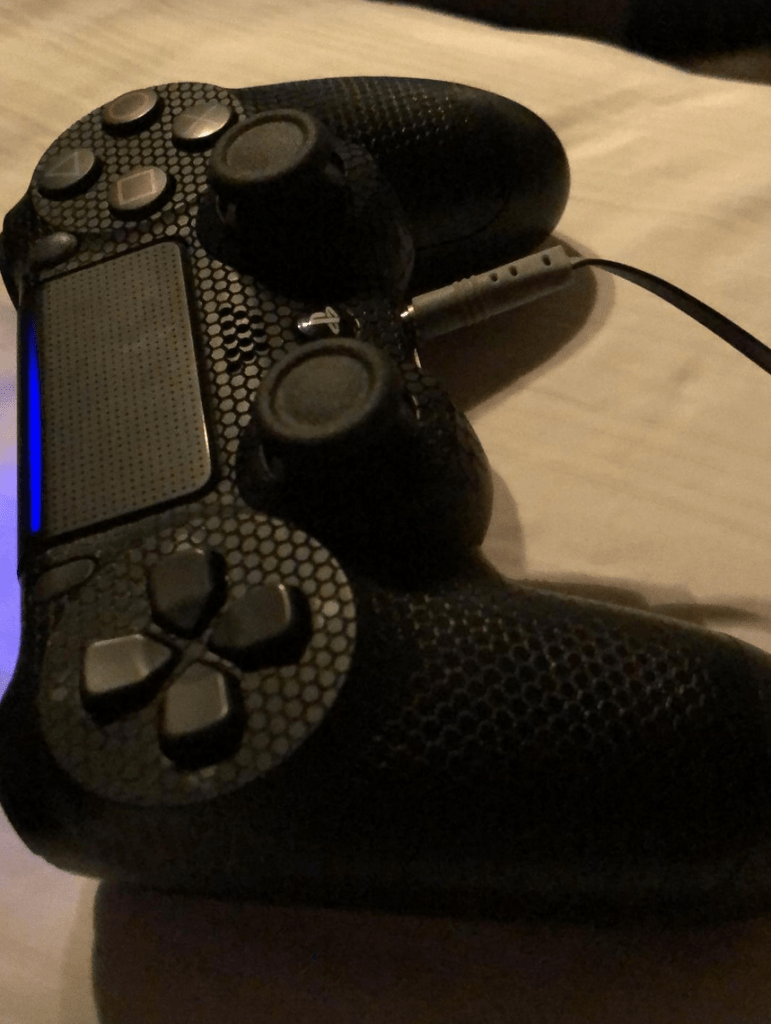
I chose to texturize Playstation 4 controllers. Mold markings inside the case indicated that they were ABS plastic (no glass or fiber fill). I used the above dithered pattern and a hexagonal pattern:
Selective Grain Restructuring of Metals
Though I’ve only begun exploring this topic, metals and other materials can be given anisotropic properties with laser treatment. This involves rapidly heating and cooling (ambient cooling effects, in my experimentation) select portions of a material.
Research on the topic exists as far back as the 1970’s, but has yet to be fully exploited. With enough control over heating and cooling parameters, I suspect that superior material qualities can be generated from fairly standard alloys. Effects can be likened to the process of selective quenching of katana blades, but more precise. Patterns can be used that provide high fatigue resistance in some directions, but high stiffness in other directions.